


Courtesy of AMZP News
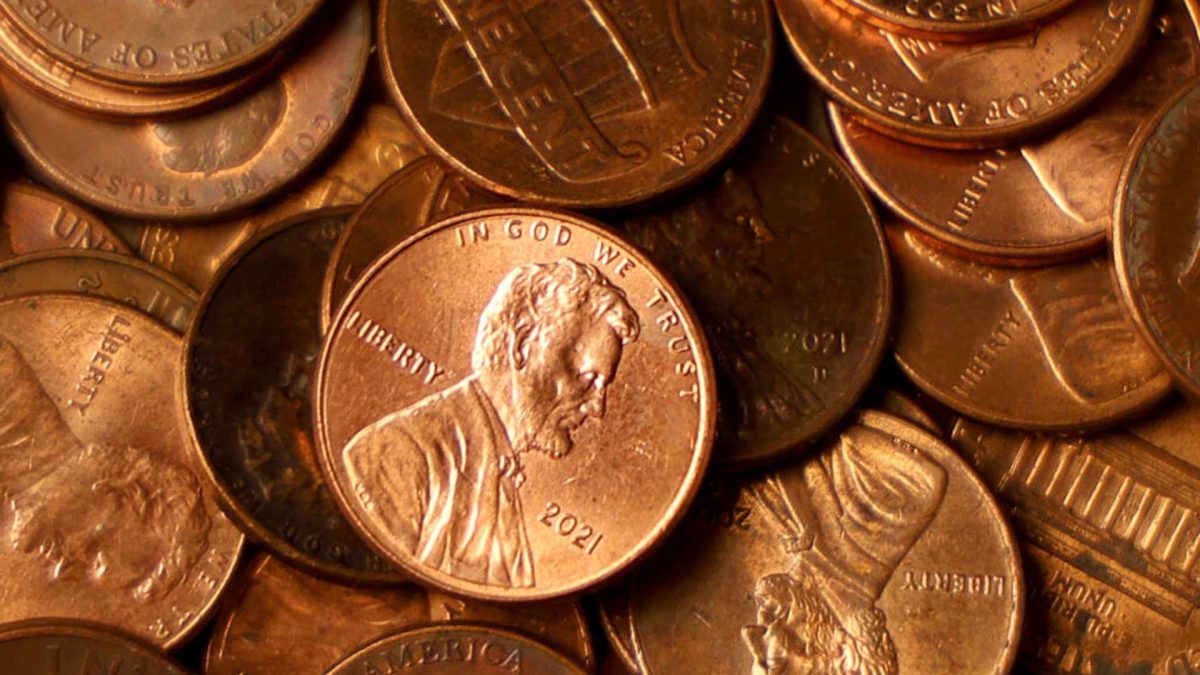
As of late 2025, the penny is no longer being produced by the US Mint. Costing over 3 cents to make a single penny, their production is pointless, even harmful to the economy. Because of this, spending your last few pennies could be a mistake, there are multiple interesting ways to use and preserve this piece of American history.
- Penny Shim: Wobbly Furniture? Chairs always rocking back and forth? Pennies can actually function as a great shim to slide under a chair or table leg to stabilize it from teetering.
- Tire Tread Check: A cool function of the penny is its way to check your tire tread. Just insert the coin into the tread with Abe’s head facing down. If you can still see the top of his head, the tread is too low.
- Penny Floor: If you have A LOT of pennies, making a penny floor is a creative way to add industrial vibes to your home. Start from a corner and apply construction adhesive or strong glue to the subfloor. Lay the pennies down, either in a grid pattern or staggered, placing them close together. Once the adhesive is dry, apply grout to fill the spaces between the pennies, using a grout float to push it into the gaps. Remove excess grout with a damp sponge. After the grout has fully cured, mix a two-part epoxy resin and pour it over the floor, leveling it with a spreader. Use a heat gun or propane torch to remove air bubbles from the epoxy. Allow it to cure for several days for maximum hardness.
- Windchime: With some left over pennies, you can drill small holes into 30–50 thread them onto fishing line or wire, attached to a sturdy base like a branch, driftwood, or a metal ring. You can add beads, washers, or larger metal pieces for added weight, sound, and visual appeal. Get as creative as you want with your DIY penny wind chime.
- Handcrafted Hockey Game: Alongside your pennies, with some extra supplies you can make a fun tabletop game using a penny as a hockey puck. You’ll need more supplies for this one: plywood, small pegs or nails for pegs, Saw (table saw or miter saw), drill, wood glue, clamps, and sandpaper, polyurethane or gloss paint for a slick surface. First, cut the plywood to your desired size. Cut four border pieces to create a frame around the plywood, using miter cuts for the corners.On the two shorter side borders, cut a 1-inch to 2-inch wide slot at the center to act as the goal. Ensure these are cut before attaching to the base. Apply wood glue to the edges of the base and secure the border pieces using a nail gun or clamps. Drill holes in the playing surface and insert small wooden pegs to act as obstacles and secure them with glue. Then sand the entire board to make it smooth and apply multiple coats of varnish or glossy paint to ensure the pennies can slide easily. You can even paint lines to mimic a real ice hockey rink.
